How to Build a Home Media Server
Streaming services are huge in our super online world, but tons of folks like to call the shots with their shows and tunes. That's where having a "home media server" rocks. It’s a sweet setup where you can keep, sort, and play your movies, jams, and snapshots on all your gadgets, no need to mess with outside companies.
Thinking setting up a "home media server" is tricky? Nah, if you've got someone to show you the ropes even the newbies can whip up a solid rig. I'm here to guide you by the hand through the whole journey to build and handle your very own home media server, one step at a time.
1. What’s a Home Media Server Anyway?
A home media server acts as a centralized storage hub for all your digital files giving you the ability to shoot them over to different gadgets. Think of it as your personal Netflix or Spotify rocking your own stuff, no need for the web.
Rocking a Media Server at Home: What's Cool About It
✔ Be the Boss – Keep and sort your media without any limits.
✔ Skip the Fees – Ditch those regular streaming costs.
✔ Get it When You Want – Zap media to any device, at home or on the go.
✔ Top-Notch Quality – Say goodbye to stalling and squished videos unlike online platforms.
✔ Share the Love – Let the whole fam dig into the collection all at once.
Picking the Best Gear
Before you dive into creating a media server, sorting out the right hardware is crucial for efficient storage and streaming.
A. Gear for Your Computer or Server
Your media collection's size and the amount of folks who'll use it dictate the hardware you pick. Let's check out some choices:
🔹 Revive an Older Computer - Transform your outdated laptop or PC into a media server.
🔹 NAS Gear – Gear from Synology or QNAP gets designed to hold media.
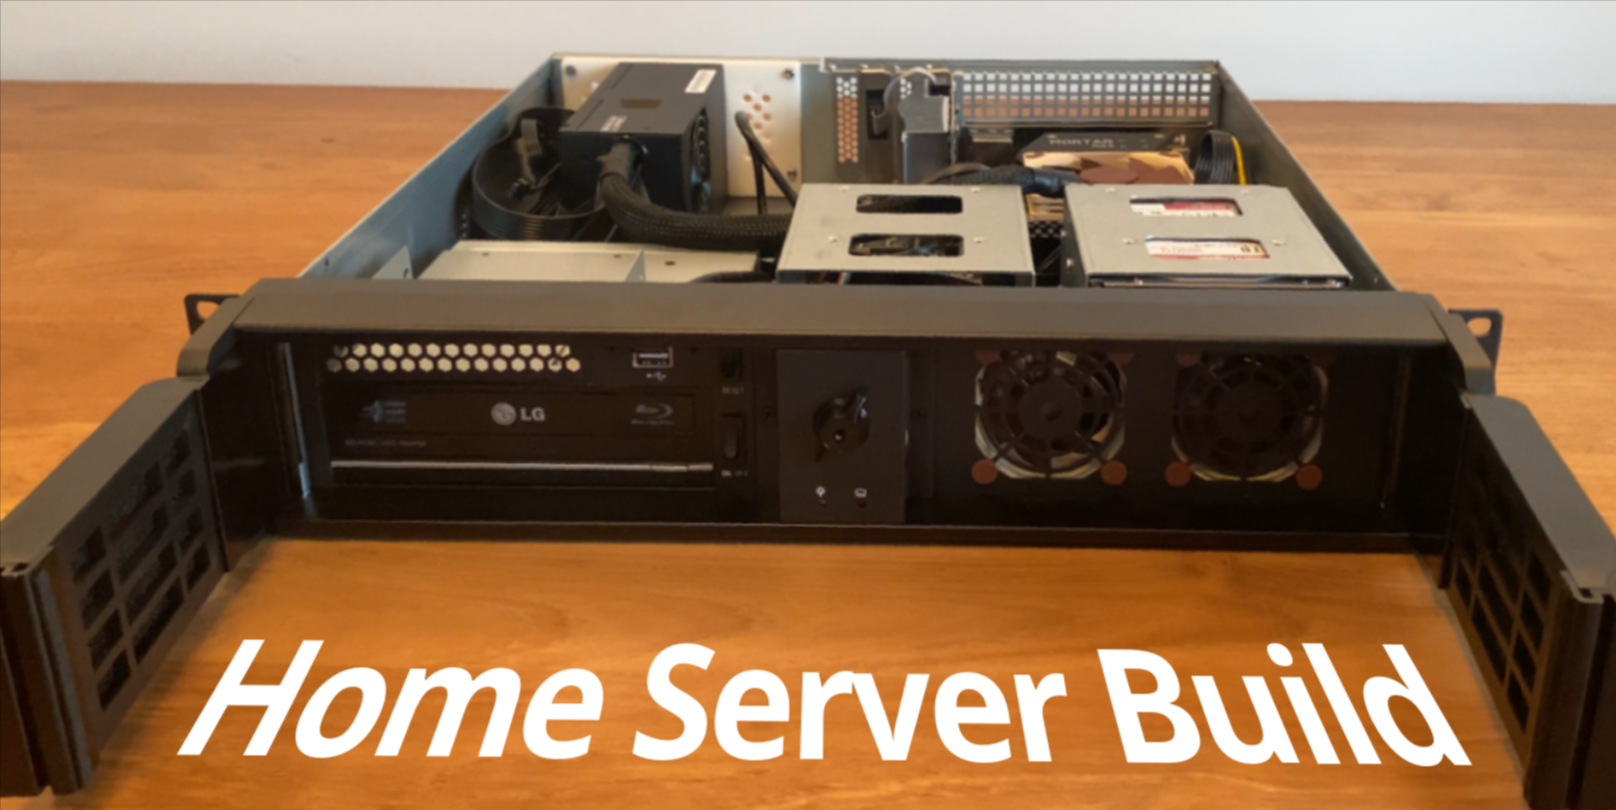
🔹 Tailor-Made Server (DIY Project) – Construct a server with loads of space and speed to manage a vast media stash.
🔹 Raspberry Pi – The pocket-friendly choice for smaller media troves.
B. Options to Store Stuff
You gotta make sure your media server has the capacity to store every tune, flick, and snapshot you've got.
🔹 Internal Hard Drives (HDDs/SSDs) – Opt for beefy HDDs (4TB-16TB) if you've got tons of media to save.
🔹 External Hard Drives – These are solid picks when you're looking to boost storage on the fly.
🔹 RAID Setup – It keeps your data safe by copying stuff over several disks.
💡 Heads up: Hoarding 4K flicks? Grab no less than 10TB of storage so you don't hit a wall with space.
C. Network Needs
You gotta have a zippy and reliable connection to keep video streams buttery smooth.
🔹 Gigabit Ethernet – It beats Wi-Fi in speed and stability.
🔹 Wi-Fi 6 Router – Go for a Wi-Fi 6 router to up your wireless game.
🔹 Powerline Adapters – These are great for spreading your network to other rooms, no need for extra wires.
3. Picking the Right Media Server Program
The right media server program will sort and stream your stuff. Let's check out the top picks:
A. Plex (Top Pick for Newbies)
All right, setting this one up's a breeze and it sports a slick look. You can run it on gadgets like PCs, your smart TVs, those gaming devices, and smartphones. It lets you stream your stuff from pretty much anywhere pretty neat, huh? They don't ask for cash to start, but if you fancy some nifty add-ons, Plex Pass is yours for just five bucks a month.
B. Jellyfin (Top-Notch Freebie & One To Tweak To Your Liking)
You won't have to shell out monthly fees or hit any caps here. It's in the same league as Plex, yet it lets you tinker around a whole lot more. It's a solid pick if you're the type who likes keeping their business to themselves.
C. Emby (Top Pick for the Pros)
You get to boss around your metadata and how your streams behave. They've got a no-cost option, but for the real fancy tools, you need to get Emby Premiere, which will set ya back five bucks each month.
💡 Plex is super easy if you're just starting out, and Jellyfin is the go-to for fans of stuff that's both open-source and free.
4. Getting Your Media Server Ready
Got your gear and apps? Cool. Let's go over how to set up and operate your own media server.
A. Putting the Media Server App in Place
1️⃣ Grab the software you want (like Plex, Jellyfin, or Emby).
2️⃣ Chuck it onto your computer NAS, or that server you've set aside.
3️⃣ Hit up the setup wizard and sort out the must-have settings.
B. Tidying Up Your Media Collection
Before you throw your media files into the server, organize them so you can have a great time.
👍 Films: Place each movie in an own folder, such as /Movies/Avatar (2009)/Avatar.mp4.
👍 TV Shows: Keep it tidy by season - think /TV Shows/Game of Thrones/Season 01/S01E01.mp4.
👍 Music: Line up those tunes by artist over here: /Music/Artist/Album/Song.mp3. 👍 Photos: Sort 'em by when it happened or what went down - /Photos/Vacation 2024/Beach.jpg.
✨ Hint: Slap names on files the right way for top-notch sorting with metadata tools such as FileBot.
C. Putting Media Libraries on Your Server
1️⃣ Fire up the media server app.
2️⃣ Hit "Add Library" and go for options like Movies, TV Shows, Music, or Photos.
3️⃣ Poke around and pick the right folder holding your media files.
4️⃣ Hang tight while your app does a scan and puts things in order.
5. Watching and Getting to Your Media Server
After setting up your media, you get to watch it across various gadgets.
A. Home Streaming (Chill Time at Your Place)
✅ Smart Viewing Gadgets – Chuck the Plex, Jellyfin, or Emby app onto your Roku, Fire Stick, or Apple TV.
✅ Handhelds & Tablets – Grab the Plex app for your iOS or Android device.
✅ PCs & Notebooks – Dive into your media using a web surf program (like this one: http://192.168.1.x:32400).
B. Far-From-Home Stream-On
✔ Switch on Remote Access – Plex and Emby let you stream when you're out and about, not just at home.
✔ Sort Out Port Forwarding – You might need to forward ports through your router for some setups.
✔ Connect to a VPN – A VPN keeps your media server safe from prying eyes stopping any sneaky people from getting in.
💡 Just a thought: Grabbing a Plex Pass or Emby Premiere means better quality when you stream from far away.
6. Making Your Home Media Server Run Better and Stay Awesome
You'll want to do these things to keep your server ticking over like a dream:
A. Backup Regularly
✔ Protect your stuff from disappearing with RAID or online backups.
✔ Think about using external drives or NAS gadgets to back things up.
B. Update Your Software Loads
Make sure you've got the latest version of Plex, Jellyfin, or Emby to snag those cool new features and important security upgrades. Upgrade your operating system and drivers to score a smoother performance.
C. Make Your Streams Run Smoother
Crank down those video quality settings so you can say goodbye to annoying buffering on slower internet. If you're lucky and your gadget has the chops, flip on hardware acceleration.
D. Set Your Media Downloads on Autopilot
Hook yourself up with Sonarr, Radarr, or Lidarr to bring in those TV shows, movies, and tunes without lifting a finger.
Wrapping It Up: Kick Back with Your Own Streaming Setup!
Creating your own home media server means you're the boss of your digital stuff. It cuts down on costs for streaming services and lets you watch stuff in top-notch quality without pesky ads.